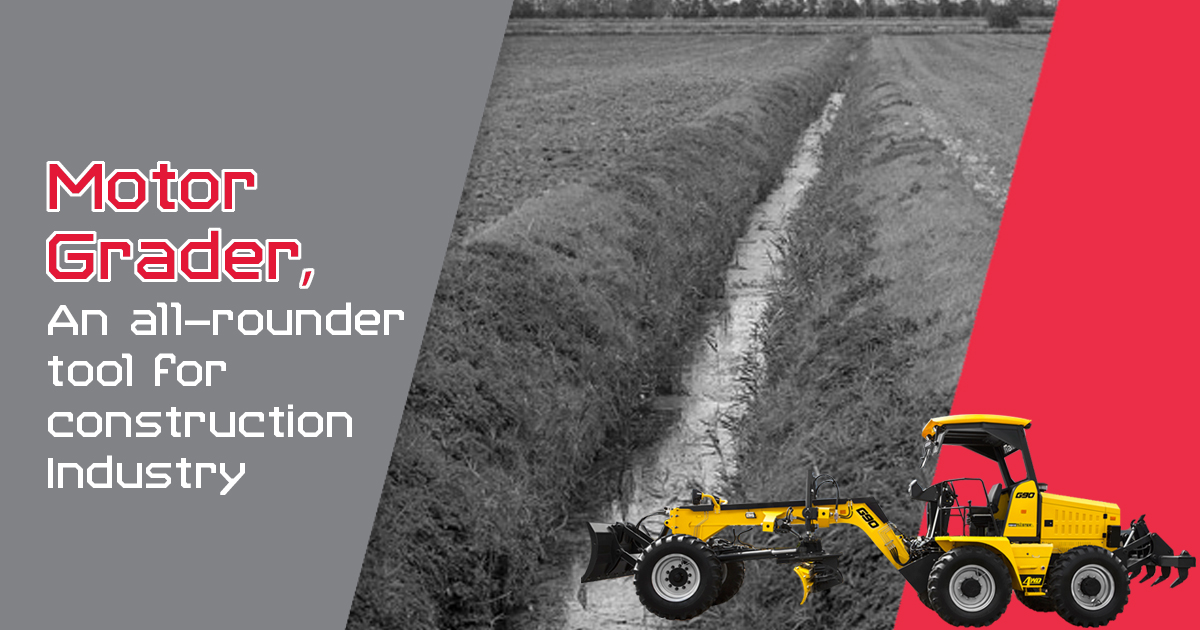
How Motor Grader Can be Used for Cutting Ditches?
Typically, motor graders can be used for performing various tasks like making mix, laying a patch, widening shoulders, cutting back slopes, ditching, scarifying, drying material and removing snow. Among all, one of the most important earth-moving jobs that is performed by motor graders is cutting ditches. In order to carry out this task well, it is imperative that the motor grader operator is experienced enough to use well all the features of the motor grader. In addition, he should know about creating proper crowns and slopes.
Typically, ditch slopes differ on the grounds of soil type, the gravel used, ditch depth and width, expected rainfall in the region and so on. While the ditch slope types may differ, certain standard best practices remain the same for cutting all the ditches. The general rule is that wherever possible, the ditch slopes should be flatter than 2:1 or 50 per cent.
Various types of ditches and things to be kept in mind
In case of Vee-ditches, they should be at least 2-feet lower than the road wear surface but their depth can vary depending on road and soil type and available right of way. On the other hand, a flat-bottomed ditch can handle large amounts of rain or snowfall and cutting flat-bottomed ditches can supply extra material if it is needed to elevate the road. In regions subject to extreme precipitation, it is required to raise the travel surface high enough to prevent water from seeping under the road.
The basics for cutting ditches
1. To begin with, a line marked with visible stakes should be laid out. This can help you to cut straight. Then you need to move the blade at a sharp angle, so that its leading edge or toe is pulled tight behind the front wheel and its heel is raised. To simplify, the steps to establish a marking cut includes:
a) The moldboard should be high enough off the surface to allow unrestricted movement.
b) The blade should be pitched halfway.
c) You need to shift towards the centre until the left lift heel is straight up and down.
d) The moldboard should be rotated so that the toe is just behind the outside edge of the right front wheel.
e) If necessary, then you need to side shift the blade so as to extend the edge of the moldboard to the outside edge of the right front wheel.
f) The left lift cylinder should be raised all the way.
g) The front wheels should be leaned towards the left. The grader is then in the ditching position.
2. After following this step, it is easy to do the marker pass. Now, you have to drive along the line that is set, cutting out about two to four centimetres. Here, it is to be noted that if you cut away too much at this point, a steering trouble may arise.
3. Keeping the setting same, the front wheel should now be included in the marker cut, with a bit of load on the machine to do the next pass. This pass should be performed in the first gear only.
4. As the next step, in order to deliver the material on the outside of the wheels, on both the ends, the blade should be tighten. The windrow should be straddled so that it can be shifted from the bank of the ditch.
5. In case of deeper ditches, you will have to repeat these steps barring the marker pass one. In order to maintain a straight ditch, make it a point to have the front wheels lean up the slope.
What to be done for a back slope?
For a back slope, the following steps should be taken...
1. One set of wheels should be on the outer edge of the ditch and the other should be at the bottom of the ditch.
2. Always keep the leading edge down enough to cut the slope and the heel down. It should be angled in such a position to give the needed windrow.
You need to keep both the leading edge and heel of the blade inside the wheels and almost parallel with the machine so as to clean the windrow from the ditch thoroughly. When you are driving, one wheel should be in the bottom of the ditch and the other should be on the first slope. In order to avoid cutting too deep, both the ends of the blade should be set tight.
Finally, keep the blade set at the usual sharp angle and take the material up the slope for removal so as to clean the bottom of the ditch.
What to do in case of a flat-bottomed ditch?
The same procedure is used for creating a flat-bottomed ditch. However, one thing should be remembered that the blade level should be kept at a position so as to avoid material leaking into the bottom of the ditch. Do keep in mind that the angle of the blade determines the width of the slope.
Other things to be kept in mind
1. Ditches should be at least 2 feet lower than the road travel surface.
2. More forward tip is required for proper cutting-edge-to-material contact when you want to cut high bank slopes or deep ditches.
3. In case of soft shoulders, you can cut the ditches without rutting them by following few steps. This includes articulating toward the moldboard toe or the leading end far enough that the toe-side front wheel can be driven into the bottom of the ditch and the heavy tandems up on the road-wearing surface can be left behind. The link bar should be left in a centre position. Then the mouldboard should be circled to an angle which promotes smooth material flow up out of the ditch and side shift for the desired reach into the ditch.
4. The moldboard’s tailing end should always be raised to match the ditch slope. The top of the moldboard should be tipped about two inches in front of the cutting edge.
Thus, by keeping the above mentioned points in mind, an experienced motor grader operator can easily cut ditches and obtain the desired results.